Equatorial Blues

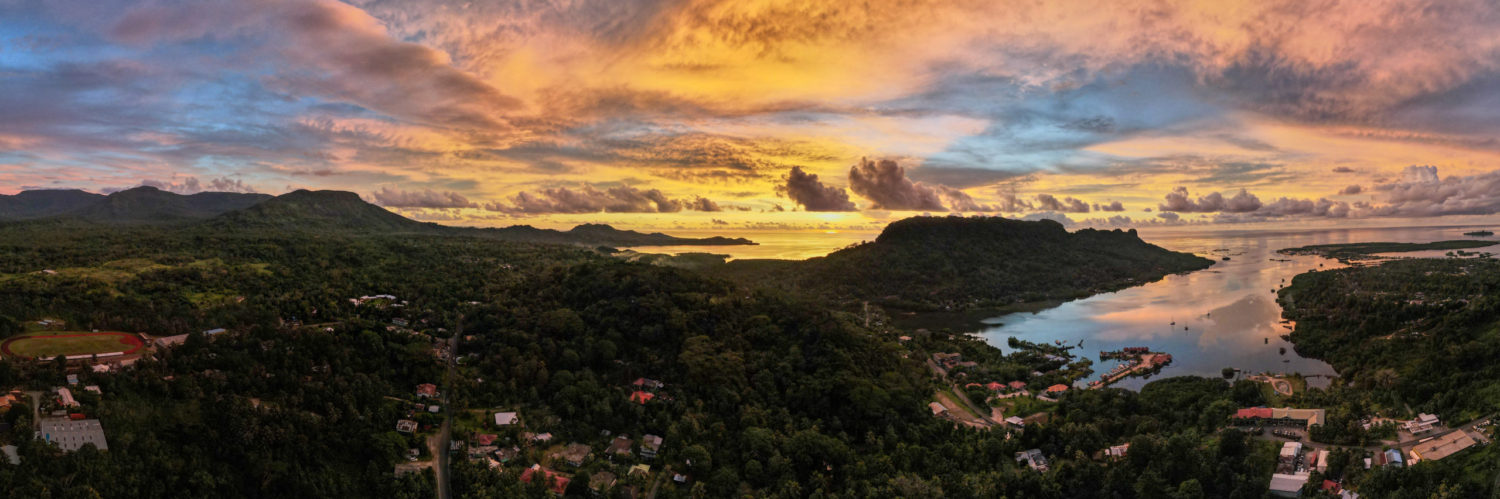
Pohnpei lies near the equator. Because the sun’s ecliptic — the path it appears to follow around the earth (yes, we know Earth actually orbits the sun) — is only marginally offset from the line of the equator, the angle of the sun is more vertical in relation to a point on the ground than it would be at higher latitudes. At noon it is nearly overhead, something that never happens north or south of the Tropic lines. As a result, the harsh, contrasty light that you find at mid-day (and that photographers usually try to avoid) is present for most of the daylight hours. In the open, you tend to get very, very dark shadows with little or no detail and very bright highlights. This happens, because when the sun is high, it has less atmospheric interference to cut through and isn’t scattered as much as it is when it is low on the horizon.

Furthermore, because the sun is high in the sky from about 9 AM until 5 PM, that overhead light doesn’t illuminate the scene itself very well (see illustration at left). Think about when you hold a book out in front of you and try to read in a room with only overhead light. The light doesn’t hit the pages directly. Similarly, the light on Pohnpei throughout most of the day falls on the tops of trees and mountains and people’s heads rather than the part we see — their leaves and slopes and faces. This means dark landscapes and foregrounds in contrast to very bright skies. It’s nearly impossible to balance that out without some post production work. The light during most of the day also has a blueish tone to it, which is not often attractive unless you’re shooting the ocean or other subjects where you want blue to be emphasized.
HOW TO DEAL
1. Shoot on days where the sky is partly cloudy or completely overcast.

Clouds act as nice diffusers, capturing harsh, directional, shortwave light and bouncing it all over the place. On cloudy or partly cloudy days, shadows will be less intense or non-existent because that diffusion is making the light come from every direction at once. This kind of light is great for outdoor portraits, street shooting, wildlife, birds, etc. It makes things look smooth and elegant. Luckily, clouds are very common on Pohnpei. Being one of the rainiest places on earth, you can expect some clouds in the sky at some point on most days — though the conditions can change constantly from hot and sunny to hot and cloudy to torrential rain and back again.
2. Shoot in the shade.
In the shade, directional light is absent and only the ambient light remains. This gives you a similar effect as above — smooth, even light without harsh contrasts. If you’re in the forest under a heavy canopy of leaves, you can get incredible shots even on hot, clear days, but watch out for the little dappled spots of light; they will be way too bright. If you’re taking pictures of people outdoors, look for people who are sitting under trees or hut roofs.
3. Use fill flash.

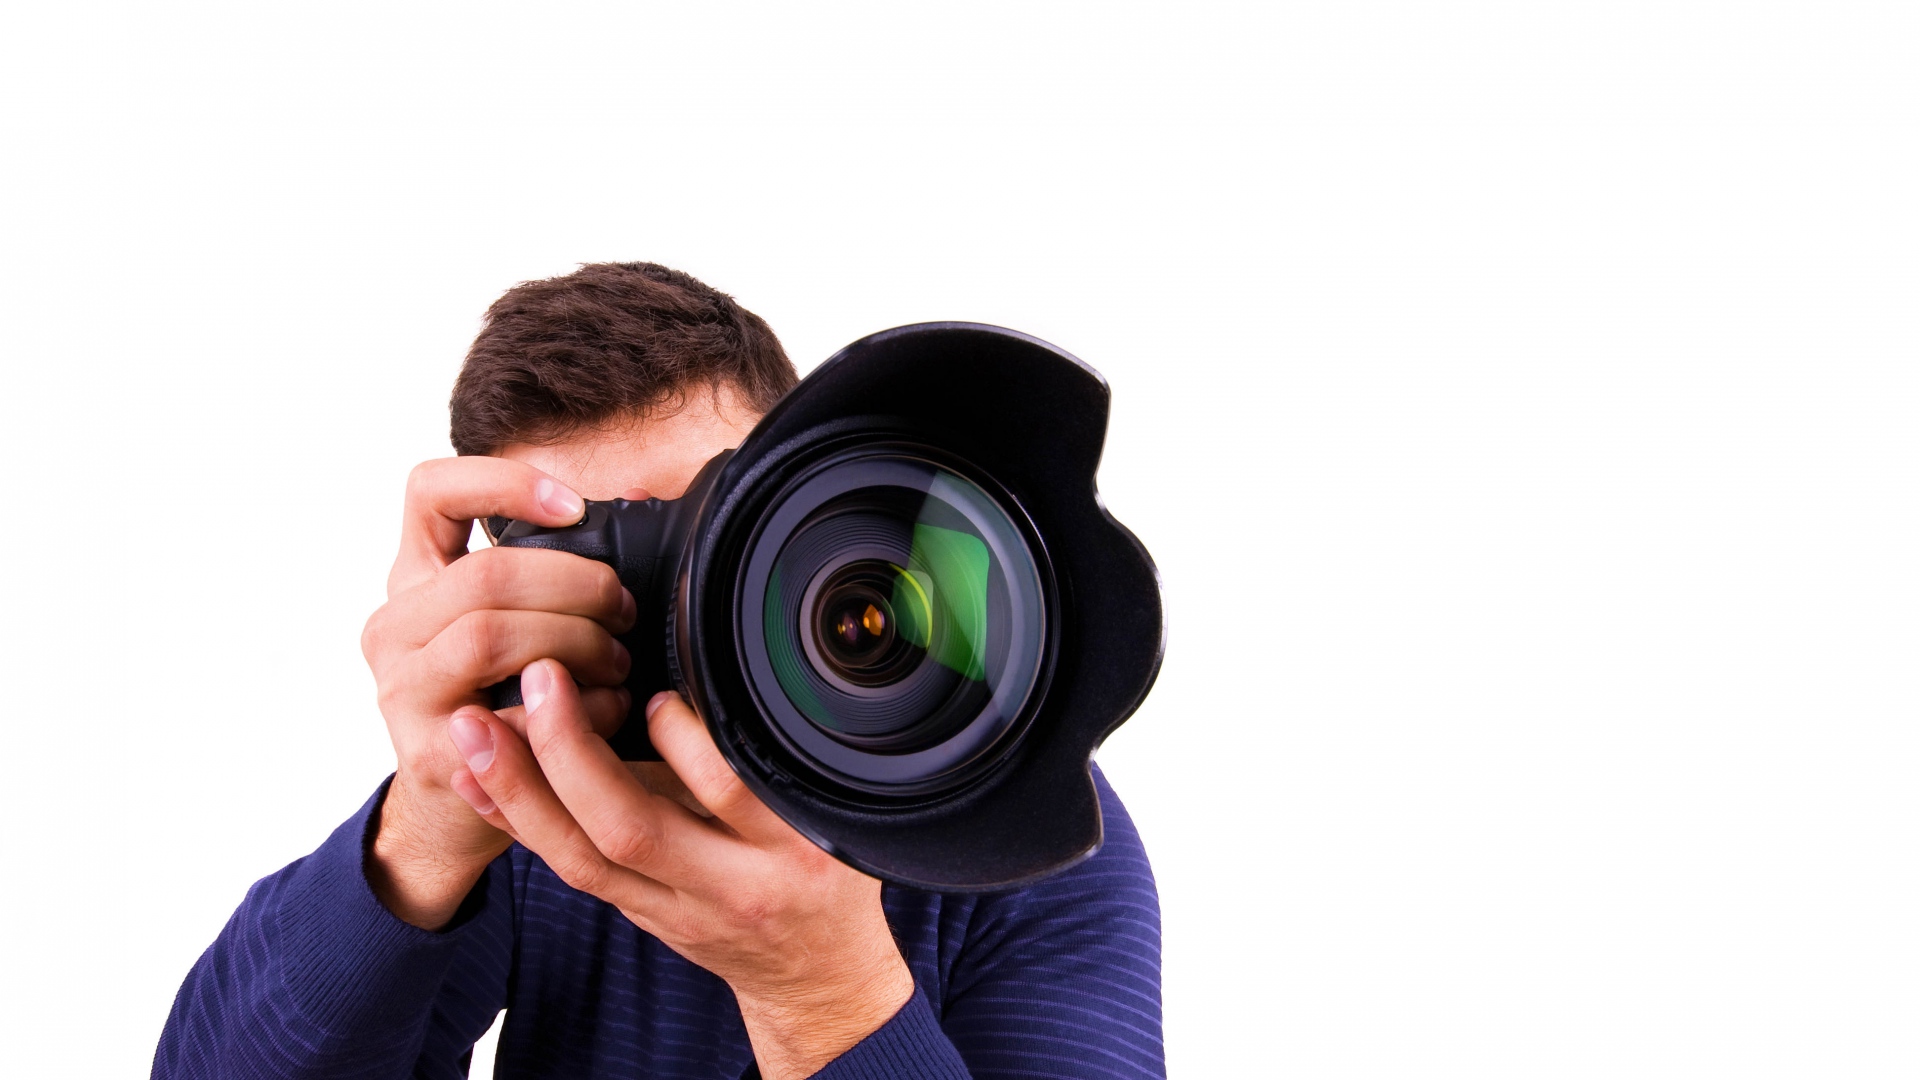
Flash is something that a lot of aspiring photographers and almost all amateurs seem to be afraid of, because when you do flash wrong, you get very ugly results — washed out features, a flat and expressionless look, harsh shadows behind a subject, etc. When flash is done right, however, the results can be magic. It allows you to expose the bright parts of a scene (like the sky) properly and keep your subject from going too dark. Some of the most beloved Nat Geo photographers use flash almost constantly, but you’d never know it from their pictures. Here are some keys to using flash effectively. Image credit: www.picture-power.com
Dial down the power of your flash.
If you have a digital SLR or even just a compact camera with an on-camera flash, you can control the power of that flash by entering the camera menu and dialing it down 2/3 of a stop or more. Consult your camera’s manual. This will help balance the light added by your flash with the ambient light. If done right, they will blend in a pleasant and inconspicuous way. With fill flash, the idea is merely to lighten the shadows so that they’re about a third darker than the highlights. You still want some contrast–just not as much as you’re going to get without some artificial light.
Get your flash off-camera and position it at an angle to your subject.

Straight-on frontal lighting almost never looks good (although, strangely, it’s a bit of a fad in fashion photography right now). As I mentioned before, it makes everything look flat. You may not have a flash that can detach from your camera, but if you do, you’ll want to be using it off the camera at all times. This means the flash communicates with the camera through a TTL cord or a wireless receiver. You hold it in one hand to the side at about a 45 degree angle to your subject and shoot with the other hand. The angled light emphasizes contour and texture, making the subject look three dimensional. It takes a bit of practice. As before, you’ll want to go into your flash menu and dial down the power so you aren’t wiping out the shadows, but merely softening them. Experimentation is essential.
Use colored gels.

The color of the light a flash produces is about equal to sunlight during the middle of the day; it’s blueish-white. If you’re shooting during the middle of the day and just filling in the shadows a bit, your flash should blend well without a gel (a colored piece of plastic that goes over the flash head). If you’re shooting in the late evening when the colors are more toward orange and red, you’ll need to filter your flash to match those colors. Most camera stores and companies online sell huge packs of gels of many colors. They’re cheap. Invest in a set.
Keep your subject away from the background.
If you are photographing a person standing in front of a wall, your flash is going to create a shadow behind the person — especially if the flash is too strong for the ambient light. Avoid this by dialing down the flash power and keeping subjects far enough away from the background that the light of the flash won’t be sufficient to create a shadow.
4. Shoot early in the morning.

For the first hour or so after sunrise, the sun is low on the horizon and its light strikes things in your scene from a low angle, illuminating them fully. It also has a warmer tone to it, which makes colors look vibrant and inviting. With Pohnpei so close to the equator, however, this period doesn’t last long on the best of days. Getting the good light means getting up before sunrise and planning out where you’re going to go beforehand so you can be in position when stuff happens. In town, not much may be stirring this early, but out on the water or up on the hills, things are beginning to wake up and come alive. This is the stuff you want to focus on — fishermen going out, people throwing nets, birds taking off, etc. If the light is great, just the landscape itself will look incredible . . . but always have a clear subject.
5. Shoot late in the afternoon.

As in the morning, when the sun is starting to go down, it’s low on the horizon and does a great job of lighting a scene. It’s even warmer toned at this time of day than in the morning because most of the short-wave blue light is so scattered by the layers of atmosphere the light has to pass through, that you end up with more long-wave colors — oranges and reds. Again, the time is short. In a place at higher latitudes you might have an hour or more of “golden light.” On Pohnpei, you can expect fifteen to twenty minutes at most, and that only if you’re lucky enough to get a clear horizon. On most days, clouds roll in during that last hour of light and block out the sunlight, preventing the “golden hour” from coming at all. The only way to score is just to get out there every evening and hope for the best. Sunsets can be phenomenal on Pohnpei, but good ones are surprisingly rare for the same reason — those late afternoon clouds on the horizon block the light. The best sunsets tend to happen after really hot clear days or when the sky clears in the evening after a heavy rain. It’s difficult to predict. Be ready and be quick. The sun sets very quickly in the tropics. Twilight does not linger.
6. Shoot in the rain.
Instead of trying to fight those blue tones, embrace them. Get out there in the rain and shoot that cool rainy light and people in it. Find some eaves to stand under and shoot people splashing around in the deluge that Pohnpei is famous for.
Green & Blue Are Everywhere

The first thing you’ll probably notice when arriving on Pohnpei — especially if you’re from a more arid climate — is how green the island is. Everything is green. This will excite you. You’ll want to take tons of pictures of all that green. You’ll also look at the ocean and the sky and think “Whoa. THAT is BLUE.” Again, you’ll be drawn to that blue. But if that’s all you do — take pictures of the forests, hillsides, ocean, and sky — when you look back at your images later on, you might come to the conclusion that they are, as a whole, a bit boring. Maybe you won’t realize why. Here’s why: everything is green and blue! Our eyes like to see variation in color. We like to see contrasts of different bright colors — reds on greens, yellows on blues and so on.
HOW TO DEAL

1. The other colors are rarer, but they are out there.
Pohnpei is a very colorful place (especially Pohnpei’s people), so we were exaggerating a bit back there when we said everything is green and blue. There are other bright colors, but you have to search for them. Look for reds, oranges, and yellows to balance out those cool tones. Good places to look–flowers, local skirts and dresses, birds, colorful houses, even blood (think feasts and slaughtered pigs).

2. Look for shots with something red, orange, or yellow in them.
By all means photograph those vivid blues and greens that only Pohnpei can deliver, but try to find ways to include other colors in those scenes. Look for a person with a red shirt. Look for a yellow wall. Look for a purple crab. Look for a kid on the beach with an orange pail. Get those things in your shots and you’ll be much happier later on with what you’ve produced.
People are Shy
In some places, people can be a bit hostile toward cameras. Pohnpei is not one of those places. People are warm and inclusive. You will probably never be told not to take a photo. That said, locals are somewhat self-conscious, by and large. So, while they may not tell you not to take their picture, they may very well start giggling or looking away or just generally not acting normal.
HOW TO DEAL
1. Take the time to make some friends.
The best bet — as in any people photography — is to be friendly and spend a little time with the people you want to photograph. Let them (and yourself) get comfortable. Keep shooting and keep being friendly. Ask questions at the beginning, be curious and open, engage. Once people aren’t paying much attention or running for cover anymore, you can really start to shoot in earnest and catch those candid moments.
2. Look for busy people.
Busy people focus on their tasks and ignore other things. If you want to get really nice candid shots, look for situations where people are occupied doing something complicated or important. They won’t even notice you.
3. Learn a little Pohnpeian.
This is a way in for any culture. Luckily, the basics of Pohnpeian are relatively easy to learn. The sounds are consistent and the grammar is simple. Even if you get it wrong, people will applaud your effort and all the laughing will lighten the mood.
Wet, Wetter, Wettest
Pohnpei is one of the wettest places on earth. It’s always humid, and much of the time it’s raining. Cameras hate water. Water and humidity makes them want to break, freeze up, and grow mold.
HOW TO DEAL
1. Protect your gear.
Keep everything as dry as possible. If you’re shooting in rain, use an umbrella or put your camera inside a plastic bag. If you’re in a boat, be especially careful of sea-spray. Ocean water is highly corrosive. Get a little on your gear and there will be problems later.

2. Wipe everything.
After visiting the ocean, your gear should always be wiped carefully with a damp cloth to remove all traces of salt.
3. Store everything in an airtight container with desiccant.

There are lots of expensive cases that work fine, but you don’t need to spend the cash. Plastic ice chests are cheap, work great, and can be used as luggage, too. Buy some industrial size boxes of silica gel online and store all your gear with it in your ice chest when you aren’t out and about. Reset the silica gel in an oven when it becomes saturated.
4. Watch contrasts in temperature and humidity.
Avoid taking your cameras and lenses from a cold, air-conditioned space outside and back again. That sudden change in humidity and temperature will cause condensation to form inside your equipment. Condensation is liquid water. You do NOT want that inside your camera or lens element. One option is to put your gear in a Ziploc bag before you go indoors. After it has been sitting in the air-conditioned temp for a bit, the air in the bag should be about the same temp as outside the bag, and it should be safe to take the gear out.